
Willem II Football Formation
Starting Lineup
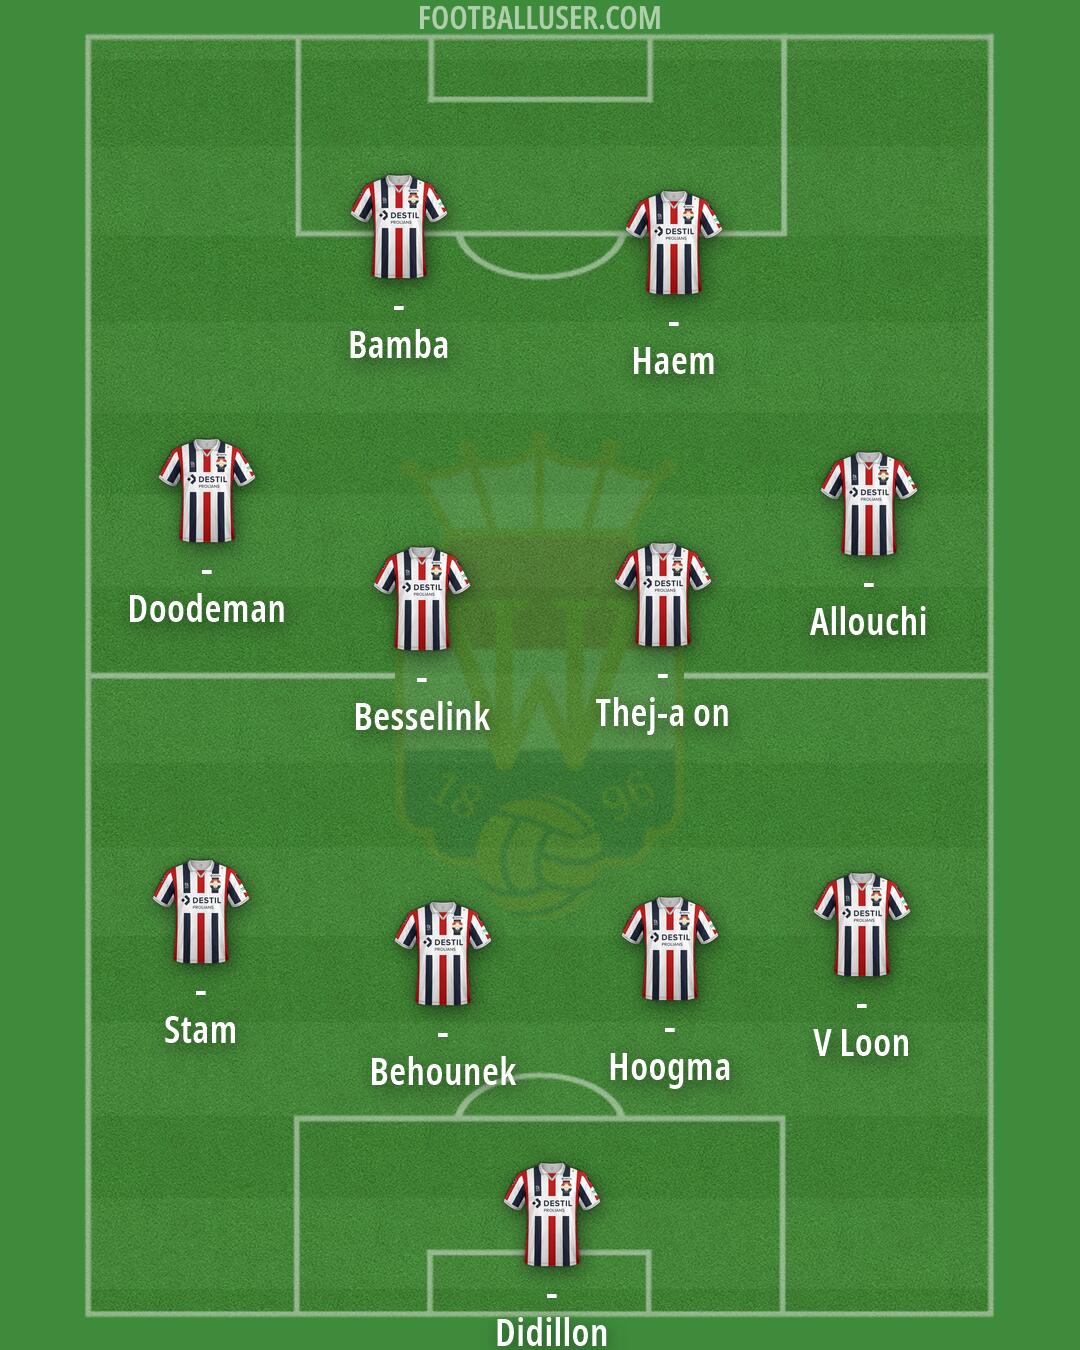
- (Didillon) · - (Hoogma) · - (Behounek) · - (Stam) · - (V Loon) · - (Thej-a on) · - (Besselink) · - (Allouchi) · - (Doodeman) · - (Haem) · - (Bamba)A preference for defensive stability and direct verticality defines the Willem II 4-4-2 lineup. This formation focuses on staying compact and winning the ball back to strike quickly through the middle or out wide. The team is built to sit in a mid block, wait for the opponent to make a mistake, and then use long passes to bypass the opposition press.
The goalkeeper sits deep to command the area and organize the defensive line. A flat back four provides the foundation for the Willem II defense, with the LB and RB tasked with tracking runners and covering the wide areas. The LCB and RCB stay central to defend the box and win aerial duels, while the LB and RB must step up to provide support when the team wins possession. The unit works together to shift across the pitch, maintaining distances between players to deny space in the channels.
The midfield operates in two banks of four to maintain a solid block. The LCM and RCM act as the engine, with one player often tasked to shield the defense while the other looks to drive forward and break the line with vertical passes. On the flanks, the LM and RM provide the width needed to stretch the opposition. These wide players must track back to help the full backs when defending, but they also look to deliver crosses once the ball moves forward.
A two-man strike force leads the attack. The LS and RS work in tandem, either playing as a traditional partnership or as one player drops deep to hold up the ball while the other makes runs behind the defense. The forwards lead the first line of the press, forcing opponents into mistakes in their own half. By occupying the two central defenders of the opposition, the RS and LS create room for the LCM or RCM to make late runs into the penalty area.
This 4-4-2 formation offers great compactness when defending in a mid block, making it hard for opponents to play through the center. The presence of two strikers allows for quick transitions, as they can immediately target the opposition back line with long balls. Additionally, the wide players and full backs can create overloads on the flanks to help switch play and find openings.
Willem II relies on this disciplined organization to frustrate opponents and strike on the break. This setup is best suited for matches against teams that dominate possession and leave space behind their high defensive line.